The Instagram icon is on the bottom right.
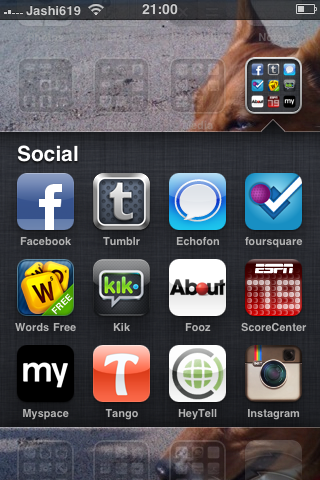
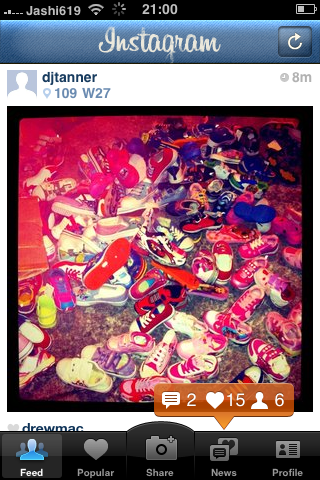
After you open the app, you'll get alerts on the bottom right of screen of new messages, likes, and followers. I really don't pay attention to the social networking of this app, I just use it for the filters :) To edit a picture, tap on the camera icon in the middle of the screen.
After you tap the camera icon, it'll bring you to a screen where you can capture a new image.
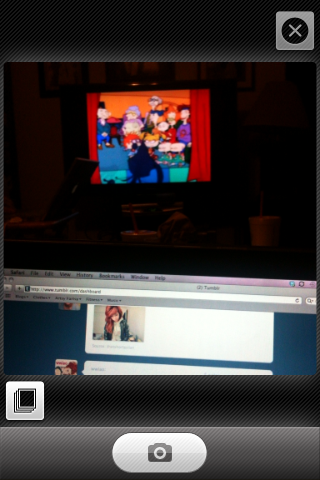
To edit a picture you already have, tap the square icons on the bottom left. It'll open your photo album that's already existing on your phone. Instagram crops your pics into a square so you'll have to choose what part of the pic you want to edit.
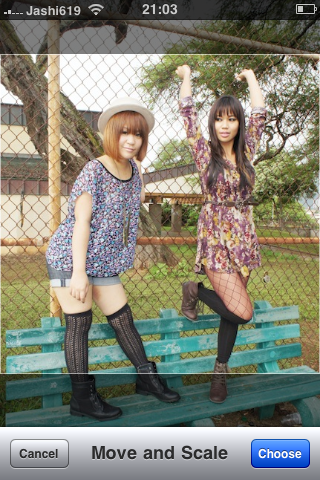
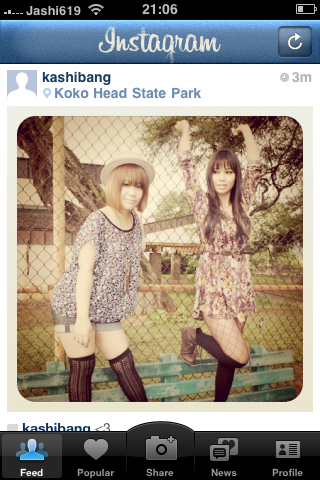
(Me and my sissy in law, oalimay <3 !)
After you crop your picture, you can choose a filter you like! (Hover for Filter names.)

This filter gives a cross processed look.

Whiter, brighter contrast.

A softer, vintage look. (One of my favorites!)

Focuses more on vignetting. It also adds a red "light leaks" in the corners and across the picture.
(You can't tell in this picture, sorry!)

Adds a canvas texture & brightens the center of the picture. It also adds slight vingetting.

A traditional B&W filter.

Washes out the picture & adds white swirls & spots for an aged, spacy look.

This is my FAVORITE filter! It adds a nice warmth & some contrast. I like the black border too.

Another B&W with more contrast.

1977 Filter. Pretty self explanitory ;P

Adds a sephia layer & a scratched out border. <3
After you pick the filter you want, press next, and it will ask if you want to post it to Twitter or whatever social network you link it to. I personally don't link it because there's a biter that follows me on Twitter. LOL!!! =___=;
If you download this app, add me & I'll add you too. LOL (;


i am so going to dl that app now! thanks!!
ReplyDeleteyay :) find me!
ReplyDelete